frankie exclusive diy: simple sun hat
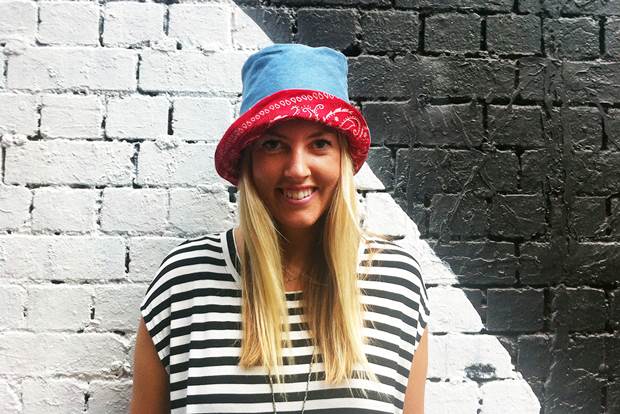
This sweet lil hat will be your new favourite companion as you enjoy these last golden afternoons that summer has to offer.
While our good friend summer may be on its way out, it doesn't mean we can't bask in its glorious rays for a little while longer. This sweet lil hat will be your new favourite companion as you enjoy these last golden afternoons. Carry it with you on warm weather adventures to protect your noggin, or just to tame your mane. You could even make it in thicker, more woolly fabrics for the colder months to come. Plus, if you add a daisy to the front you get to look just like Blossom, which is always a plus.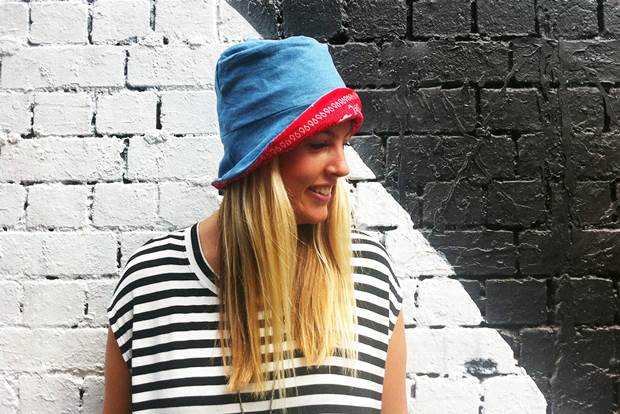
MATERIALS:
sewing machine
sun hat template
1/2 metre stiff outer fabric for the hat (we used a cut up denim shirt)
1/2 metre thinner lining fabric for the hat (we used a combination of bandana fabric and thinner denim)
sewing pins
fabric scissors
pencil
iron
needle and sewing thread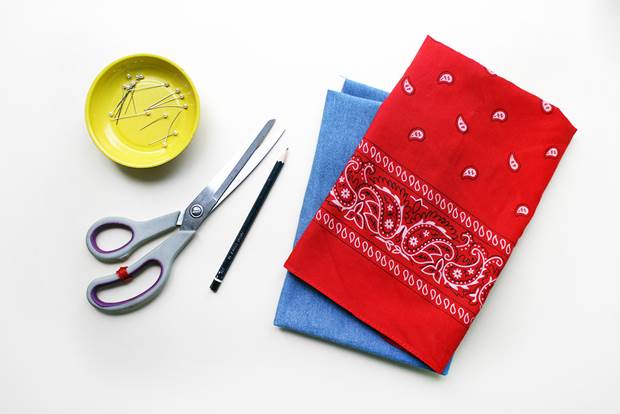
INSTRUCTIONS:
1.Trace and cut out the various sun hat pattern pieces, following the cutting instructions on each pattern piece. 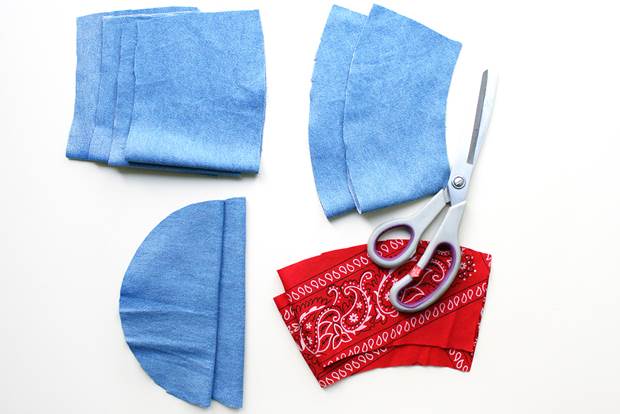
2. To construct the lining, sew the two side panel pieces together. You will need to place the pieces right-sides-together and sew along their short edges. Make sure to press the seams flat with an iron after every sewing step to give the hat crisp edges.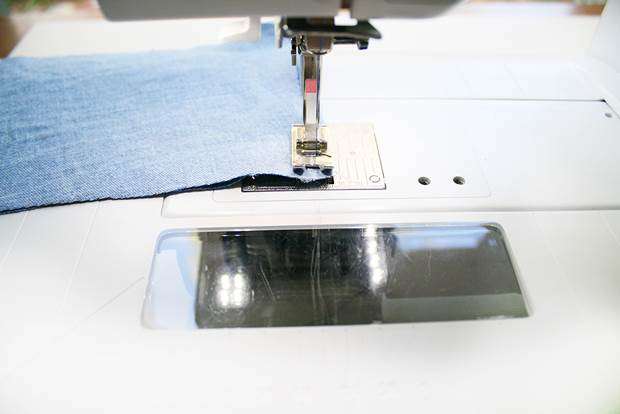
3. With the side panel piece still inside out, pin the top panel of the lining to the panel (make sure all pattern pieces are inside-out and that you are pinning it to the correct edge, as noted on the pattern piece). Sew the top panel to the side panel, removing the pins as you go. Press these seams.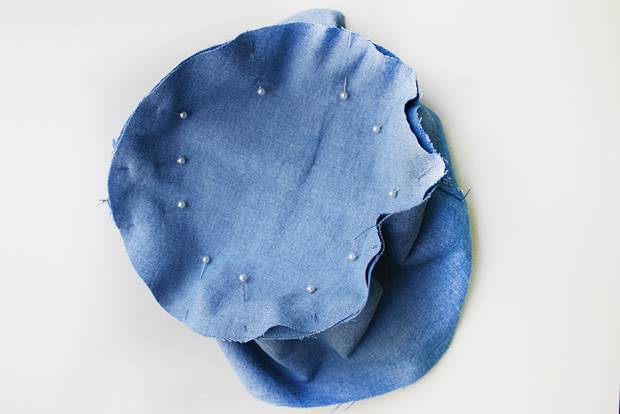
4. Make small notches with scissors all the way around the top curve of the hat. This makes any curved edge crisp and prevents bumps in the seams. You can do this to all the curved edges if you like.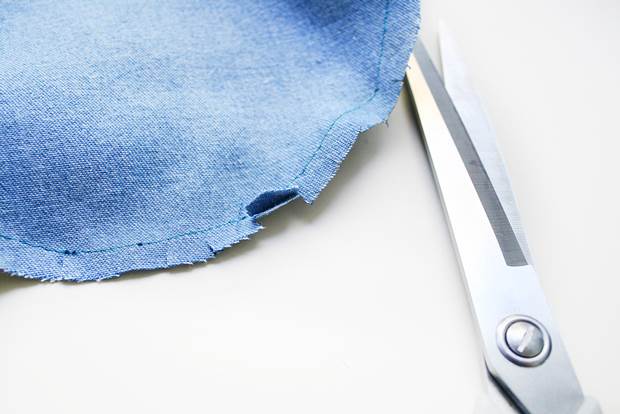
5. Repeat Step 2 with the brim lining panels.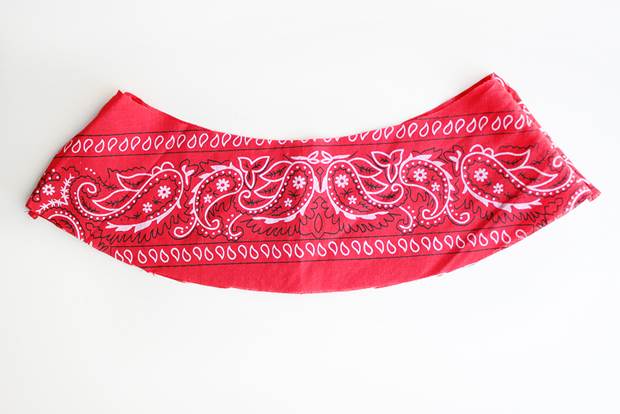
6. Sew the brim lining to the side panel, with right sides facing each other as before. Make notches around this curve and press the seams flat. Your lining is done!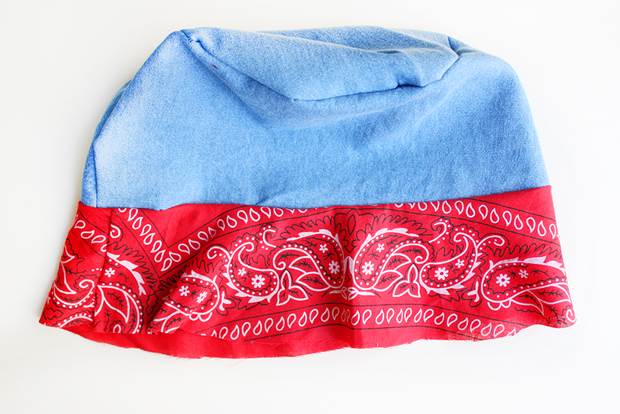
7. Repeat Steps 2-6 with the outer fabric. You should now have two identical hats.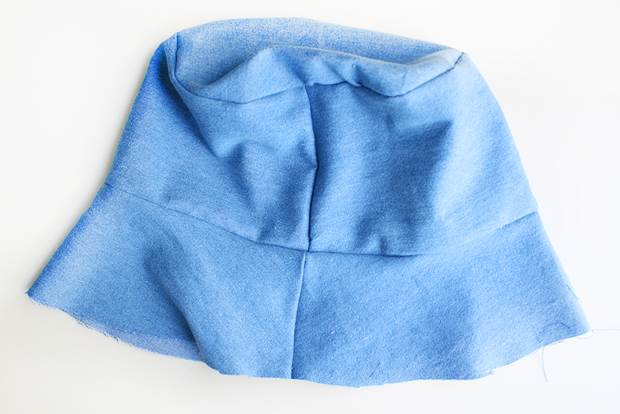
8. With right sides facing inwards, slip the lining inside the outer fabric hat. Sew the brims together, but leave a 5cm gap unsewn for turning the hat right-side-out. Make your notches all the way around the curve of the brim and turn the hat right-side out. Press the brim seams with an iron.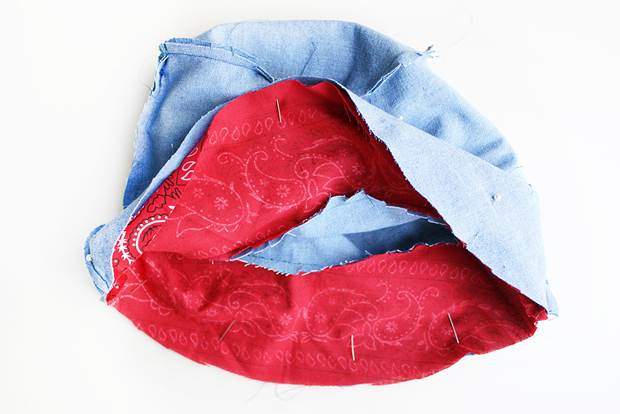
9. Tuck the raw edges from the 5cm gap inwards on themselves and hand sew the gap closed with small, neat stitches using the needle and thread. Your hat is now complete and ready to wear!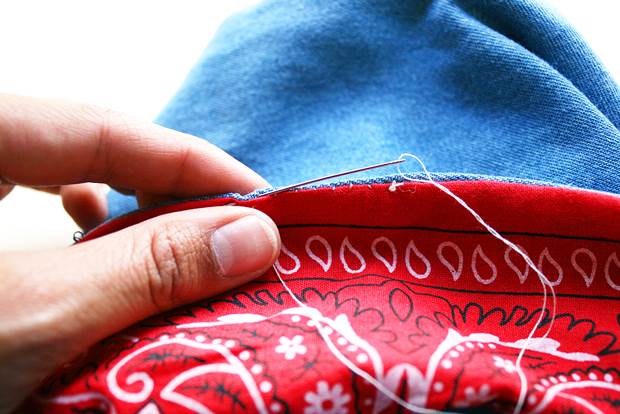
Handy hint: you can play with contrasting fabrics to make your hat reversible! If you want a stiffer hat, simply affix iron-on interfacing to each pattern piece, which will give the hat more structure. If this hat doesn't fit your head, try enlarging or decreasing the pattern slightly using a photocopier.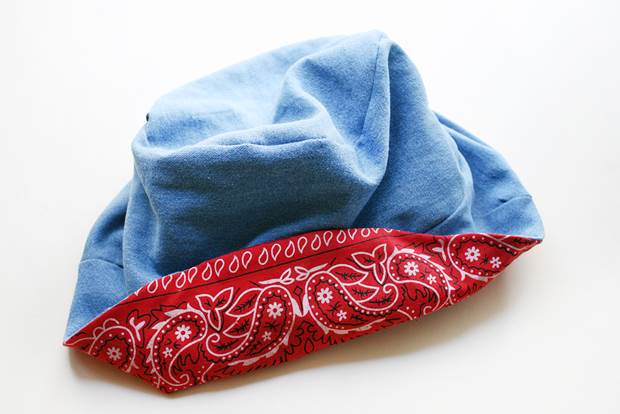


.jpg&q=80&w=316&c=1&s=1)


.jpg&q=80&w=316&c=1&s=1)