frankie exclusive diy: shaggy seat cover
Make plonking your behind on a hard surface a little less bruisey with this soft and shaggy seat cover.
If, like us, you’ve got piles of wool and yarn taking up space in your crafty stash, why not use some to make a soft and shaggy get-up for your favourite stool or seat? Not only will it make plonking your behind on a hard wooden surface a little less bruisey, it will also add a pop of sweet colour to your room!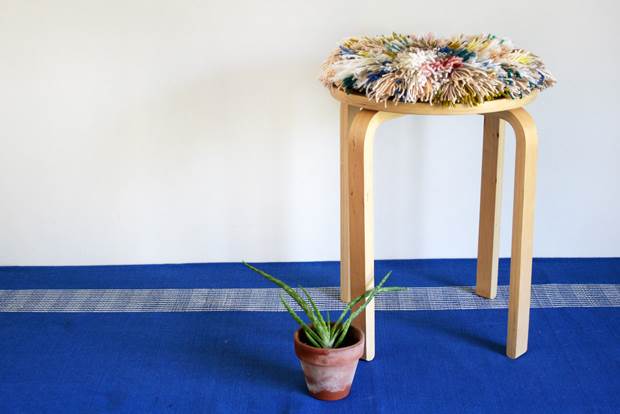
MATERIALS:
wool
stool pad – this one was around $8 from everybody’s favourite Swedish furniture store!
needle and thread
1.5 metre ribbon
cardboard
scissors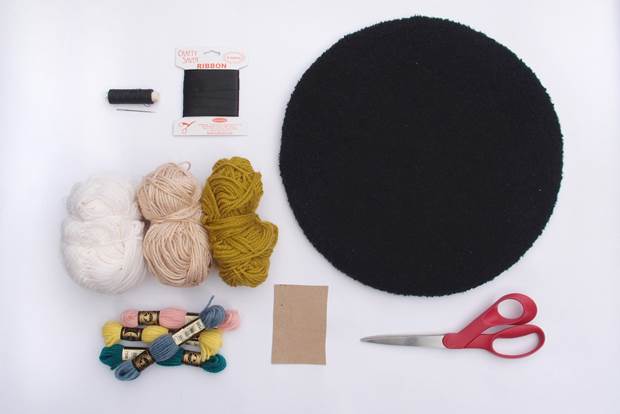
INSTRUCTIONS:
1. Sew the ribbon to the bottom of the stool pad so you can tie it onto the stool securely once the shaggy seat is finished. Make sure the centre of the ribbon is in the centre of the pad and sew this down with a few stitches, as well as at both sides of the stool pad.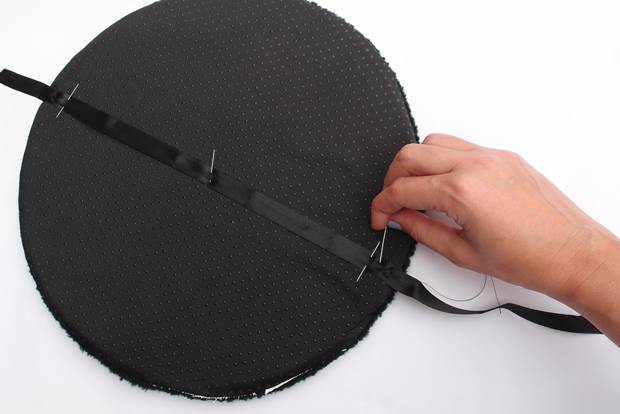
2. Cut a piece of cardboard around 6cm wide by 10cm long. Use this to make a quick pom pom by winding wool around the cardboard. Feel free to change colours halfway through or use multiple yarns at once. We wound each one around 60 times, but the more you wind, the chunkier your pom.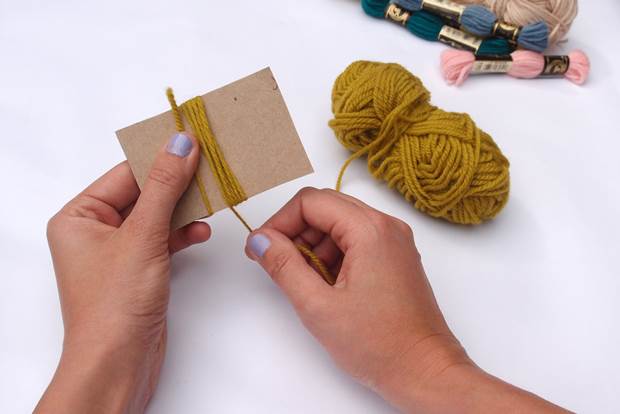
3. Cut a piece of wool around 15cm long and use this to tightly tie around the centre of the pom pom. Cut it loose from the cardboard by snipping through the yarn directly opposite where you have tied it together. It should look like a tassel shape.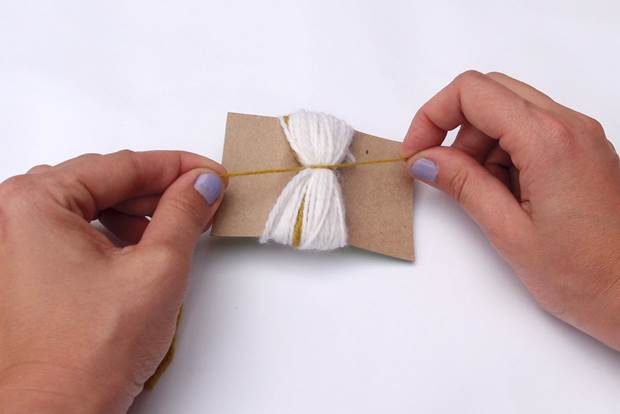
4. Get winding! We needed to make around 30 pom poms to cover this stool pad.
5. Once you have enough pom poms you can start to sew them on. Begin by sewing one in the centre of the seat. Open the pom pom out so that the tied yarn is visible and sew around this and onto the stool pad. Give it a few decent stitches to make sure it is secure and can’t fall off.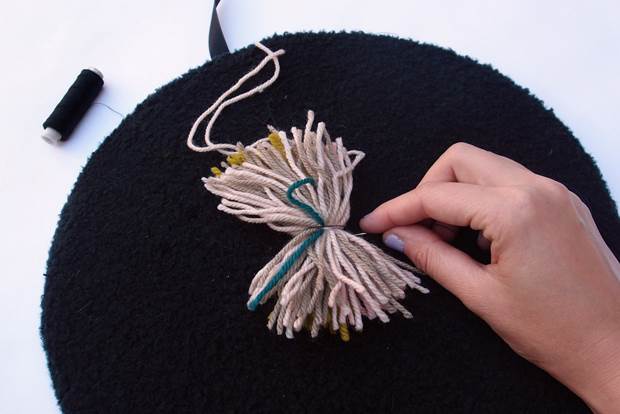
6. Stitch a circle of pom poms around the first in the same way as before. Then stitch another even larger circle of pom poms around this middle circle. You can space them out quite a bit as the yarn will cover any gaps between each individual pom pom. After sewing these two circles of poms, we also sewed a few extra ones right around the very outside to make the shag look fuller!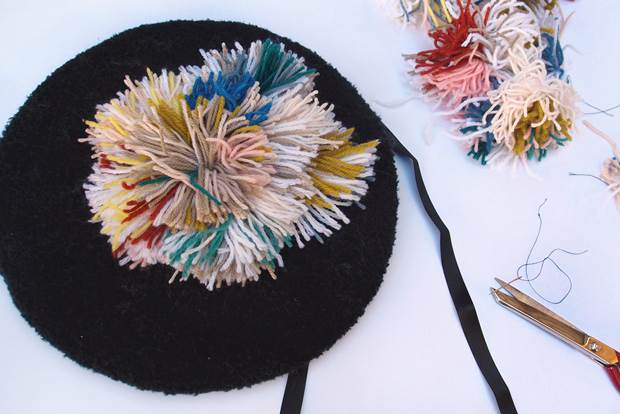
7. Once you have covered the seat you can give the wool a bit of a trim.
8. Use the ribbon to tie the stool pad to your plain old boring seat and watch as it transforms into a unique piece of furniture! You could update this DIY to fit regular old chairs, too.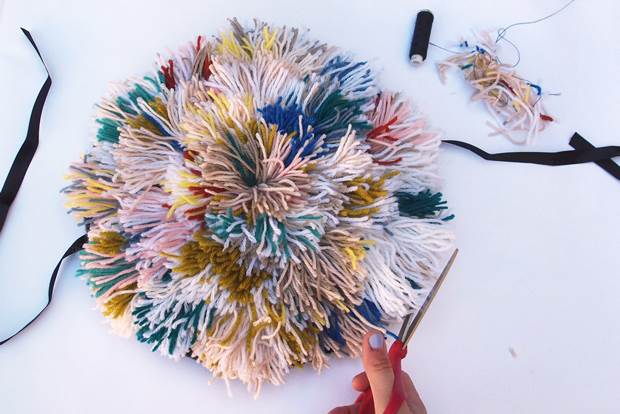
Words by Esther Sandler, the clever lady behind Togetherness Design. Snaps by Larissa Boyd.


.jpg&q=80&w=316&c=1&s=1)


.jpg&q=80&w=316&c=1&s=1)