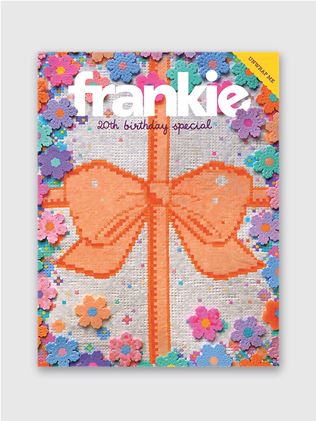
frankie exclusive diy: oversized hair bow
Create a super-cute hair bow to add a touch of whimsy to your daily fit.
 MATERIALS
50cm (h) x 55cm (w) fabric in main colour
25cm (h) x 50 cm (w) in accent colour
50cm x 50cm medium-weight single-sided fusible interfacing
Glue gun
Yarn or strong (30cm is plenty)
Barrette clip
Standard machine sewing kit
Iron
METHOD
1. Start by preparing the fabric for your bow. To make sure that the bow’s tails are swishy and its structure stays perky, cut a piece of interfacing (24cm x 48cm) to the back of the bow’s fabric (except for the tails). Lay out the main fabric, right-side down and lay the interfacing on top, shiny-side down, the use a pressing cloth to press with your iron to fuse the interfacing to the fabric.

2. Cut a piece of interfacing (24cm x 48cm) and fuse to the accent fabric.
 3. Cut the pieces of fabric to make the bow. For the top bow section, cut out 21cm x 38cm, 13cm x 8cm for the centre of the bow, 22cm x 54cm for the tails, and 21cm x 46cm for the interfaced accent fabric.
4. Fold the strip of fabric you cut for the tails in half, right-side in, just so the long edges meet. Pin them down and sew along the edge, then turn the ‘tube’ of fabric right-side out and press so that the seam is along one edge.
5. Measure 2.5cm up from one end of the bow along the seam and mark it. Draw a line from that point to the opposite corner of that end to form a diagonal, then cut along that line. Repeat at the other end of the strip, then turn the cut ends by 1cm and press with the iron to hold. Use the glue gun to spread a thin layer of glue inside each of the cut ends to seal them.

6. Lay out one of your bow sections face-down. Fold the longer edges in so that they overlap in the middle by 1cm. Use the glue gun to glue the overlapping edges together and then repeat with the other bow piece.
7. Lay one of your bow pieces right-side down and mark the centre between the two narrower edges. Fold one of the narrow edges in so that it overlaps the centre by 5mm. Repeat with the other edge, pinning them in place along the centre. Sew along the centre line to hold the ends in place, then repeat with the other bow piece.
8. Lay your narrower bow on top of the wider accent bow. Fold the two bows at the centre in concertina/accordion style, then tie with string or yarn to hold in place.
 9. Take the little central section you cut in step 3 and fold the longer edges in to meet along the centre, then press to crease. Place the folded central section right-side down in portrait position, then place your bows right-side down on top in the centre. Lay your tails across the centre section, directly below the bows. Align the centre of your tails to match up with the centre of the bows, then add glue to the back of the central section and wrap is tightly around the bow and tail sections. If it overlaps then glue the overlap in place.
 10. Finally, add glue to the back of the barrette clip and stick it to the back of the bow. Once the glue has hardened, your bow is ready to wear!
 See more of Anna Alicia’s cool stuff over here.


.jpg&q=80&w=316&c=1&s=1)


.jpg&q=80&w=316&c=1&s=1)