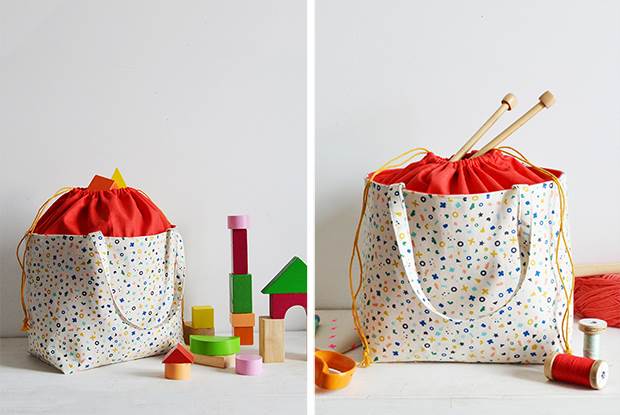
frankie exclusive diy: drawstring basket-bag
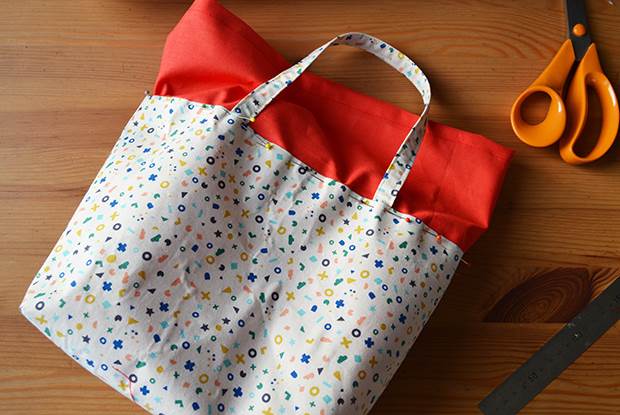
Crack out the sewing gear, because we’ve got a sweet new project for you: a drawstring basket-bag, big enough to keep a whole bunch of stuff in! P.S. It’s pretty cute, too.
Walking by a river in a small Japanese town I fell in love with a little grey-green drawstring basket-bag I saw hanging in a shop. It was covered in a pattern of impossibly plump blue and purple chrysanthemums and, despite banning myself from buying any more souvenirs, I decided there had to be room in my holiday suitcase for such a thing of beauty!
Over the years (surely not 15!) since I brought the basket-bag home to London (to undertake the noble job of keeping all my little bathroom bits and pieces somewhere I can actually find them) I’ve often thought I’d like to try making one. At first the structured shape and that cool drawstring bit just seemed completely overwhelming, but as I’ve built up my sewing skills over the years I began to see that really, like many things, it’s not as complicated as it looks.
So finally, after all these years, here I go! I’ve reverse engineered my little basket-bag and made a new one – so you can make one, too! I think this one will help me store some of my sewing stash, or maybe carry my lunch, or maybe tidy up some of my toddler’s toys… OK, I’m going to need to make some more!
MATERIALS:
1/2m patterned fabric
1/2m plain fabric
1/2m stiff interfacing
thread to match both your fabrics
1.5m cord
pins
2 safety pins
scissors
sewing machine
tape measure
ruler
tailor’s chalk
pencil
INSTRUCTIONS:
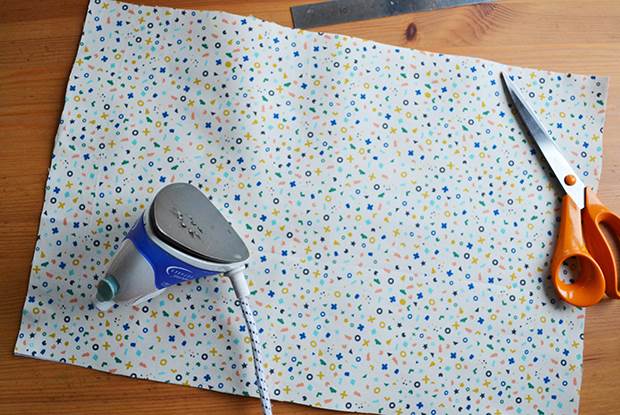
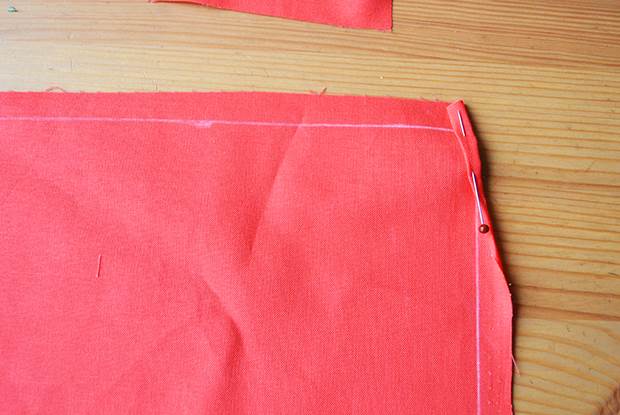
1. On your plain fabric use your chalk to mark a rectangle 50cm x 33cm and cut out with a 1cm seam allowance. Set this aside. Next, lay out your patterned fabric face-down and draw out a rectangle 50cm x 33cm. Cut out with a 1cm seam allowance. Do the same with your interfacing. Lay your interfacing out face-up (i.e. shiny side up) and place your patterned rectangle on top, face-up, so all the edges meet. Iron to seal together.
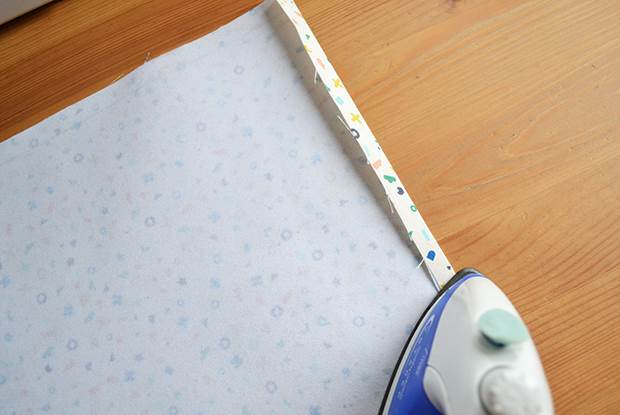
2. Turn your patterned/interfacing piece over (patterned side down), fold the two shorter edges over by 1cm and press.
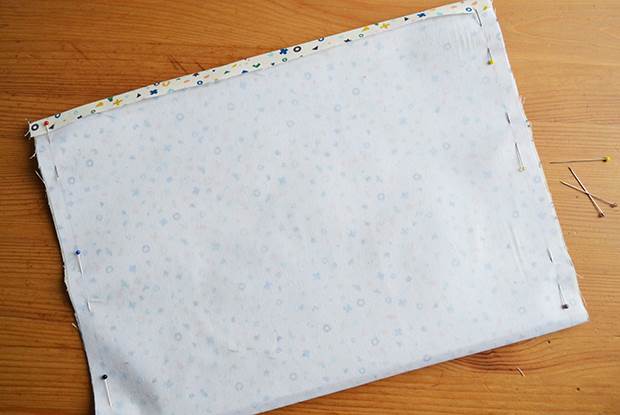
3. Next, turn your rectangle over so it’s face-up. Fold in half so the shorter edges meet at the top. Pin along the sides and sew 1cm in (leaving the long top edge open).
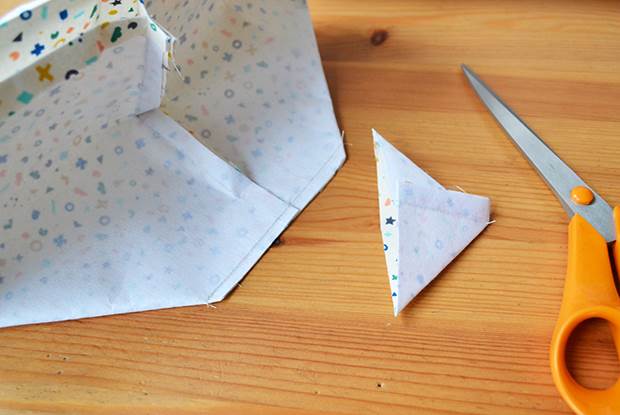
4. To create the basket’s base, place your patterned piece in front of you with one of the seams facing you. Flatten the seam down so you have a pointed corner facing you. Measure 6cm up from the tip of the corner and mark. Pin across where you have marked, at a right angle to the seam.
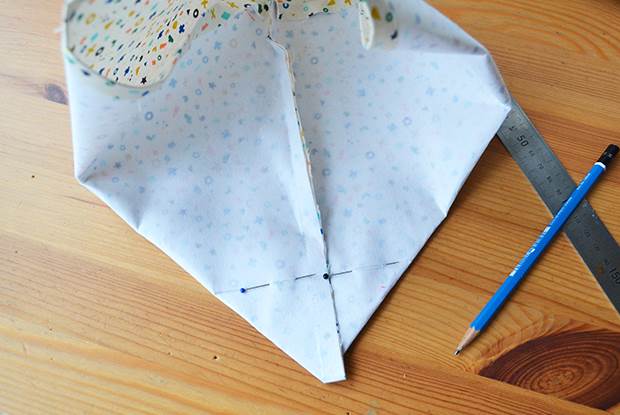
5. Sew across the corner where you’ve pinned, then cut away the corner about 5mm below your stitching. Repeat steps 4 and 5 for the other seam, then turn your basket right way out.
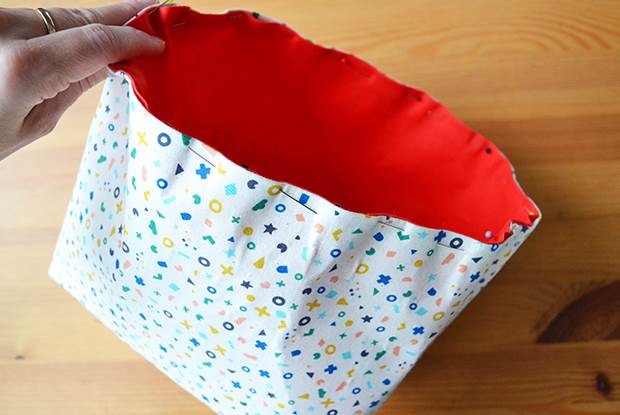
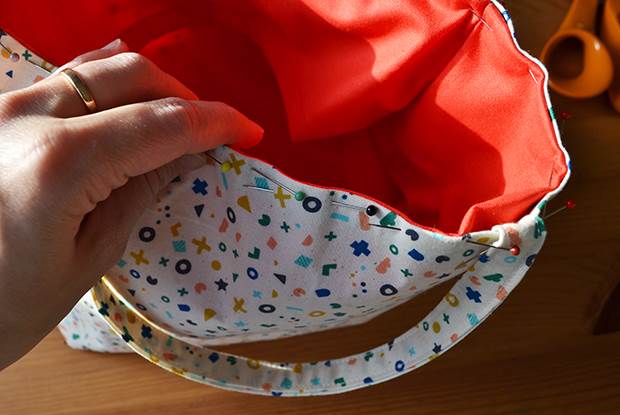
6. Repeat steps 2 through to 5 with your lining fabric, but don’t turn right way out. Tuck your lining into your outer basket and pin together around the top edge.
7. To make your handles, cut two strips of your patterned fabric 40cm x 6cm each. Take one strip, face-down, and fold both long edges in so they meet along the centre. Press with your iron.
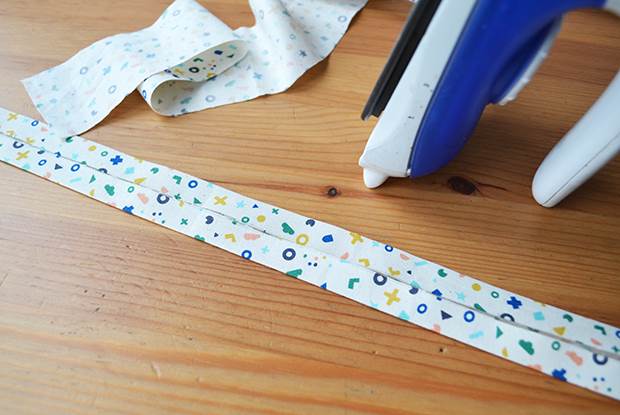
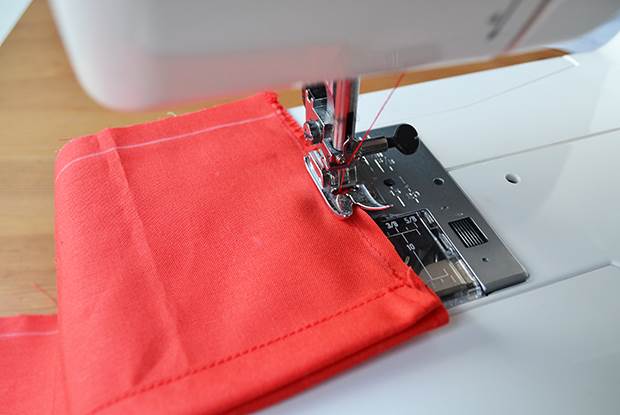
8. Now fold your strip in half so the long edges meet and press again. Pin along the open edge.

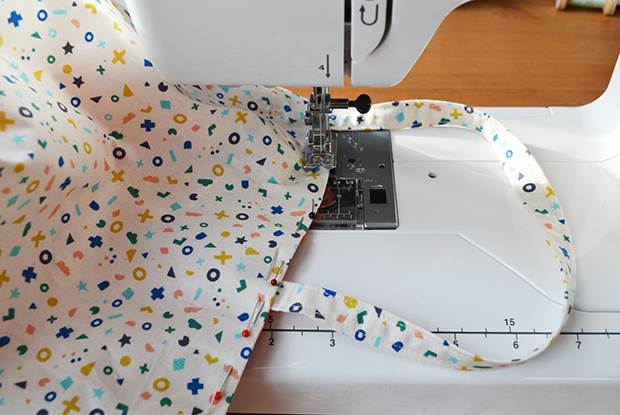
9. Sew along both long edges, 2mm in. Repeat the folding and sewing steps with your second strip. Pin the ends your handles in place sandwiched between your lining and outer layers, 9cm from each seam.
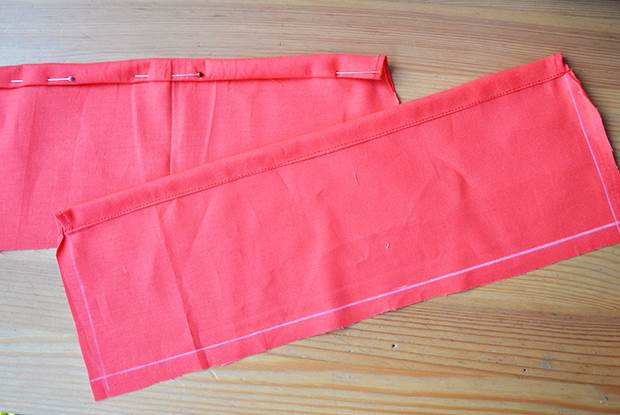
10. To make the drawstring section of your bag, cut two rectangles 33cm x 13cm. Lay the rectangles out landscape, face-down, and fold in the top corners of the shorter edges by 5mm then again by 5mm, pinning in place to form a narrow triangle at least 3cm long. Sew in place.
11. Now fold the top long edge (with the folded triangles at the corners) over by 1.5cm and again by 1.5cm. Pin in place and sew along the bottom edge of the folded strip about 2mm in. Do this for both rectangles.
12. Place one of your rectangles face-up with the other face-down on top, lining up the edges. Pin the short edges together 1cm in and sew along those edges only. Trim the seams to 5mm and over-sew with a zigzag stitch to stop them fraying.
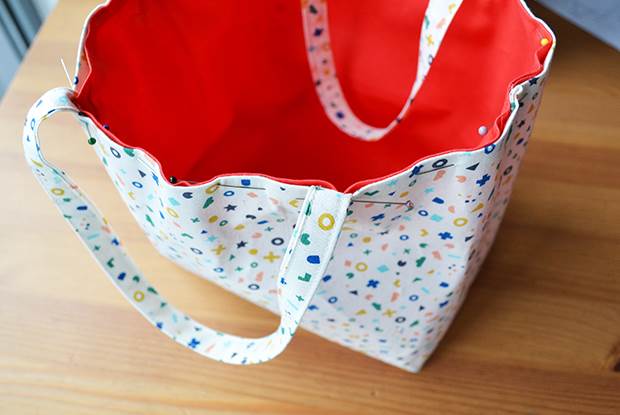
13. Turn right way out and then tuck the bottom (cut) edge of your drawstring section between the lining and outer layers of your basket by 1cm. You’ll need to remove and replace the pins you put in earlier as you go. (Make sure your handles are on the outside!)
14. Tuck your drawstring section down into your basket and re-pin again 5mm from the top edge. (This seems like a lot of pinning and re-pinning, but it’s the best way to keep all the layers happy while you go through the stages!)
15. Next, sew all the way around the top of your basket about 5mm from the edge. Pull the drawstring section back up and press.
16. Finally, add your cords. Cut two pieces of cord each 82cm long. Pin a safety pin to one end of a cord and across the other end. Use the first safety pin to help you thread your cord through a channel at the top of your drawstring section, out and back through the channel on the other side. Tie the ends of your cord together in a knot and trim.
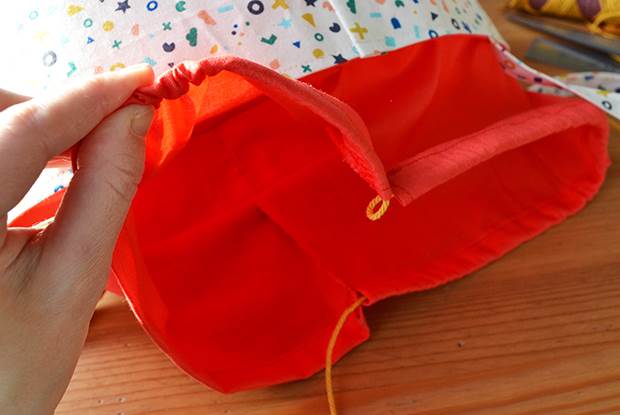
17. Repeat in the opposite direction with the other cord. Pull the knotted ends of your two cords in opposite directions to close your drawstring and you’re all done!
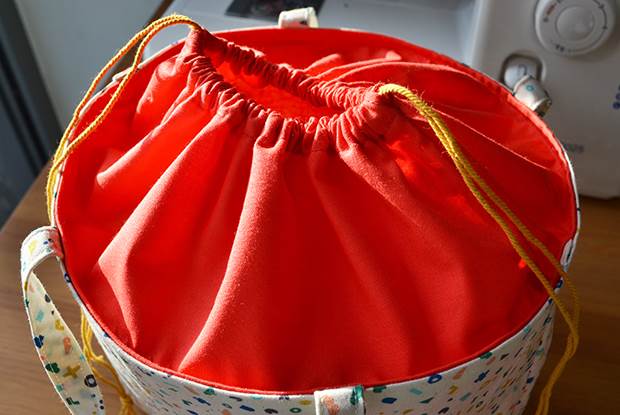
To see more cool stuff from Anna Alicia, head over this way.


.jpg&q=80&w=316&c=1&s=1)


.jpg&q=80&w=316&c=1&s=1)