frankie exclusive diy: colourful kaleidoscope
Forget about chasing rainbows, now you can carry them with you wherever you go.
It may look rather innocent at first glance, but this little cylinder is hiding a magical secret. Forget about chasing rainbows, now you can carry them with you wherever you go. Here's how: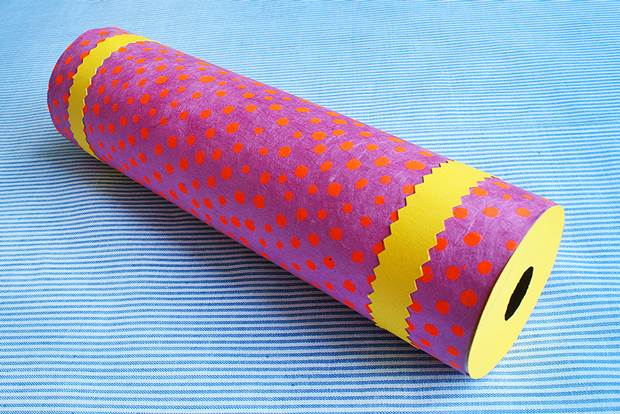
MATERIALS:
1 cardboard cylinder (a kitchen roll would work great)
3 thin rectangular mirrors (or if you can't find those, some shiny silver cardboard)
1 clear plastic circle (slightly smaller in diameter to the tube, it will need to slot in snugly - we used acetate from an art store)
1 frosted circle the exact same size as the plastic one. (You could use baking paper or frosted tracing paper from an art store)
A selection of clear, colourful beads
Coloured paper and card to decorate
Scissors
Double-sided tape
Normal sticky tape
Pencil
Ruler
Crimping shears (we used these to decorate the edges of our card but they're not essential)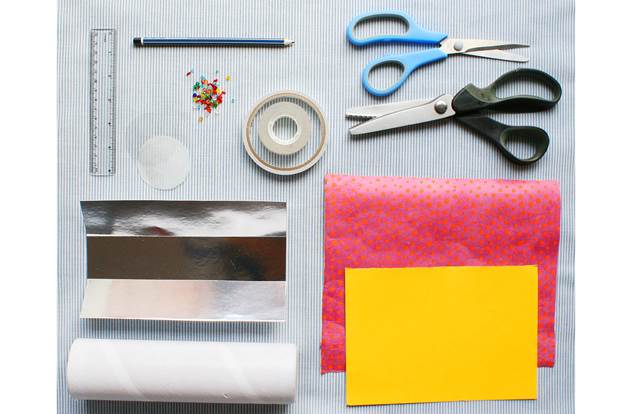
INSTRUCTIONS:
1. Measure out three strips of silver card 1cm shorter in length to your tube and 0.5cm shorter in width to the diameter of your cylinder. Stick the pieces together on the longer edges to form a triangular tube. If you're using mirrors you'll just need to make sure that they are thin enough to fit inside the tube when you form the triangle.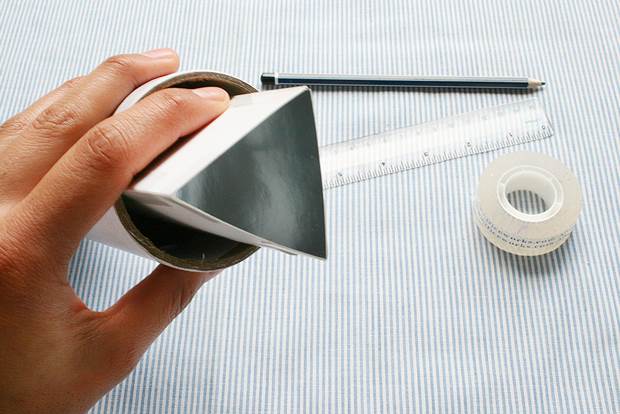
2. Slot the plastic circle into the cylinder, resting on top of the triangle tube. Pour your beads on top. Don't fill it up too much, you want to make sure they can move around.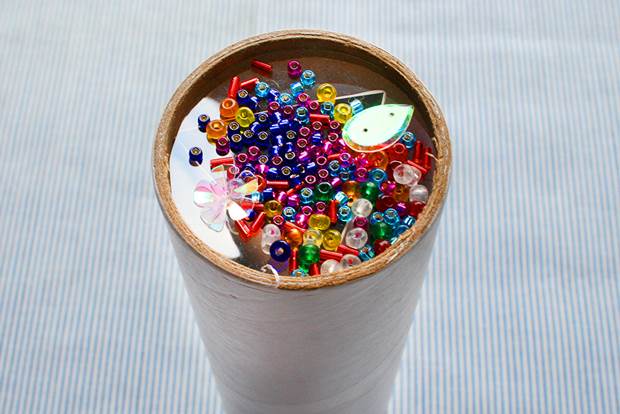
3. Place the frosted circle on top of the beads and carefully secure with sticky tape.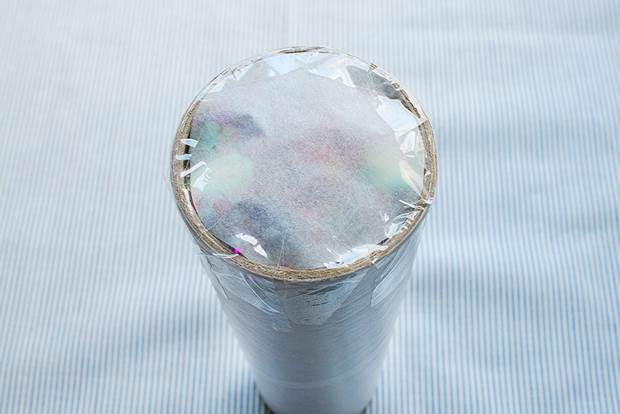
4. Cut a circle from coloured card that's the same diameter as the cyclinder. Using the cap of a glue stick, or the inside edge of your roll of sticky tape, trace a smaller circle in the centre and cut it out. Use double-sided tape (or dabs of glue) to stick this to the opposite end of the cylinder.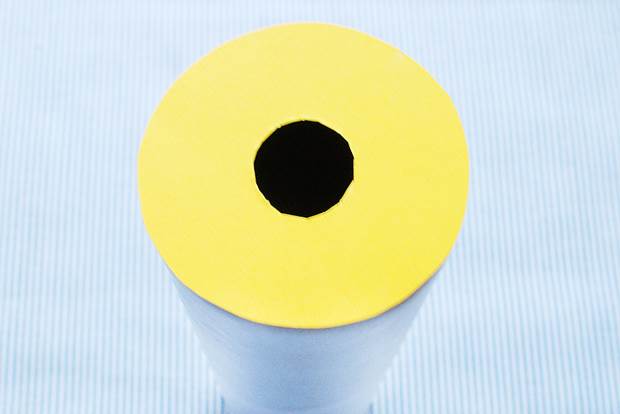
5. Decorate the outside of the kaleidoscope in any way you please! Then hold it up to the light and have a peek inside for a little dose of magic.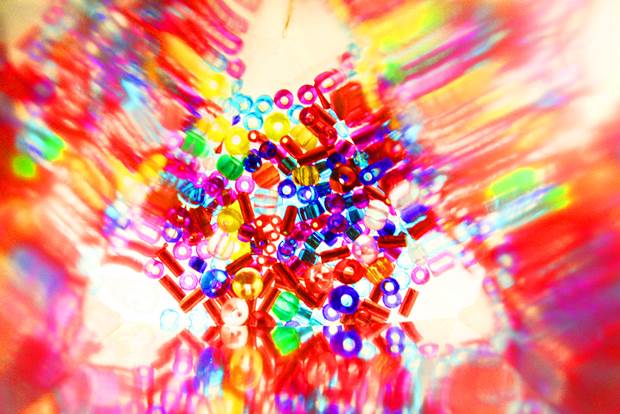


.jpg&q=80&w=316&c=1&s=1)


.jpg&q=80&w=316&c=1&s=1)