
frankie exclusive diy: pin pennant
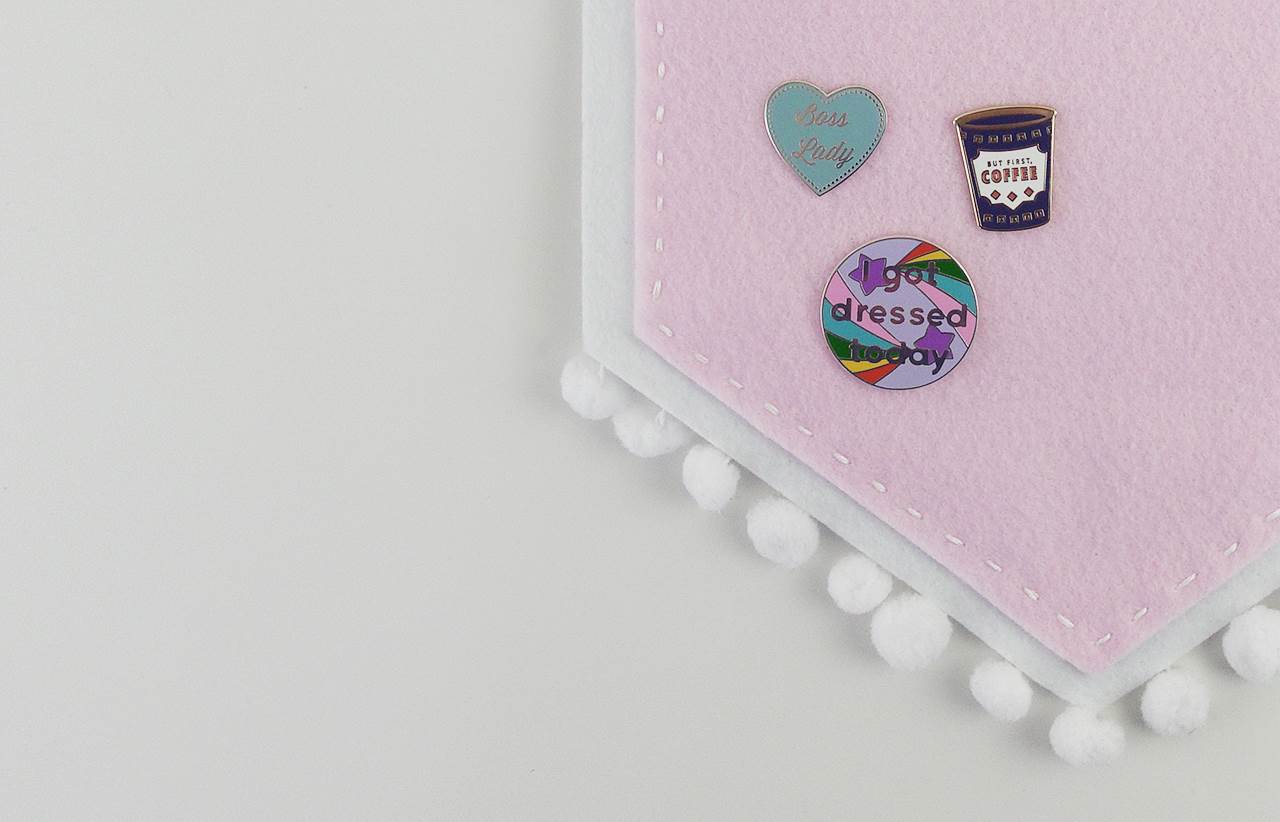
Keep all your pins in one spot with this handy DIY felt pennant. (You’ll also be able to enjoy them when you’re not wearing them!)
There are so many rad designers making enamel pins at the moment that I just cannot stop collecting them. The second I swear I’m done I see another one I have to have. The result of this obsession is that I’ve got way more than I can wear at once, and I need a fun and clever way to show them some love.
This felt pennant saves the day by keeping them all in one spot, and letting me enjoy them even when I’m not wearing them.
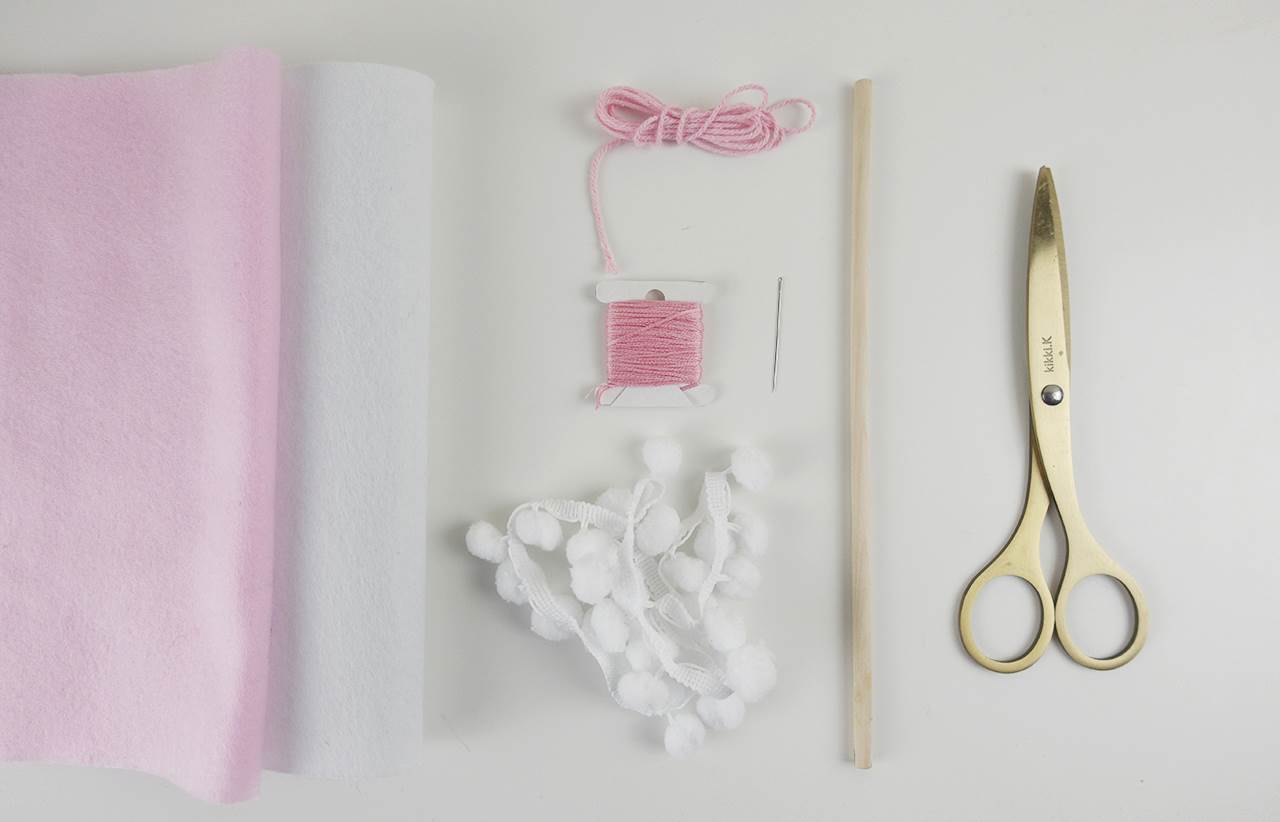
MATERIALS:
coloured felt
twine
dowel 0.5cm diameter
trim (this is totally optional, but adding some tassels, pompoms or ric rac can up the cute factor if you’re into it)
embroidery floss
eraseable fabric marker
scissors
ruler
sewing needle
pins
tape
INSTRUCTIONS:
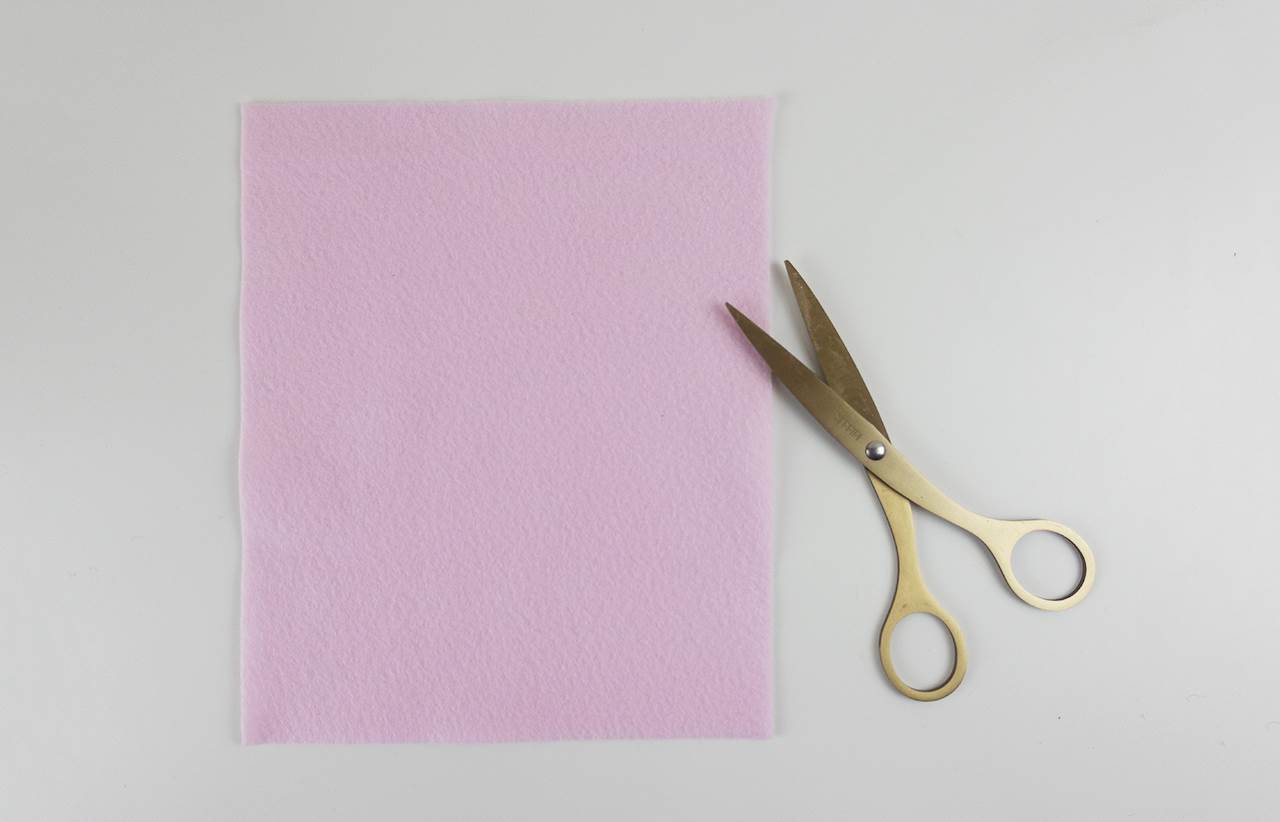
1. Choose your colours. I’m a bit of a unicorn space princess, so I’ve gone with pink and white, but you should choose a combination that goes with your own style, and your own pins.
2. Take the colour that you want to be the top layer, and cut it into a rectangle measuring 22.5cm x 18.5cm.
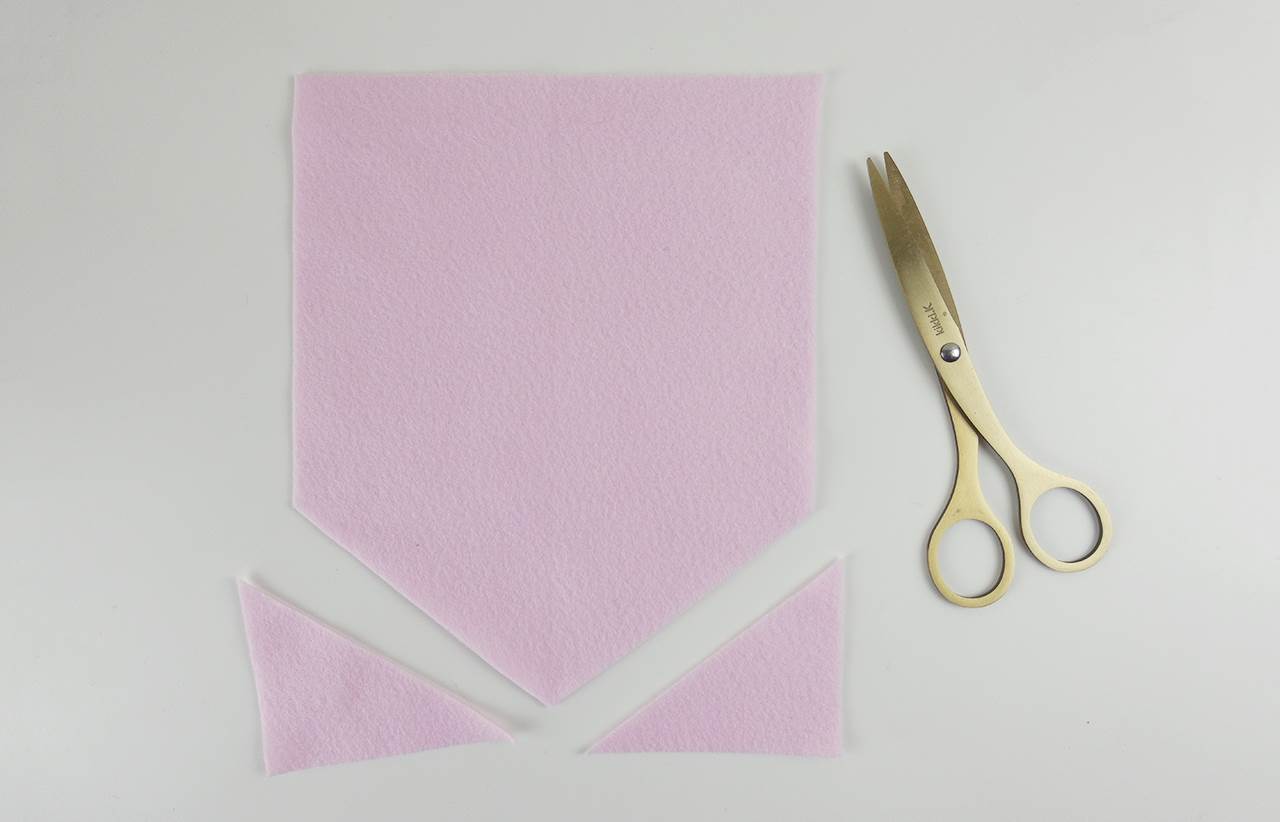
3. Fold this rectangle in half lengthways, then mark a point along the open edge.
4. Keeping the felt folded, draw a diagonal line from the folded corner of the felt up to the point you marked on the edge.
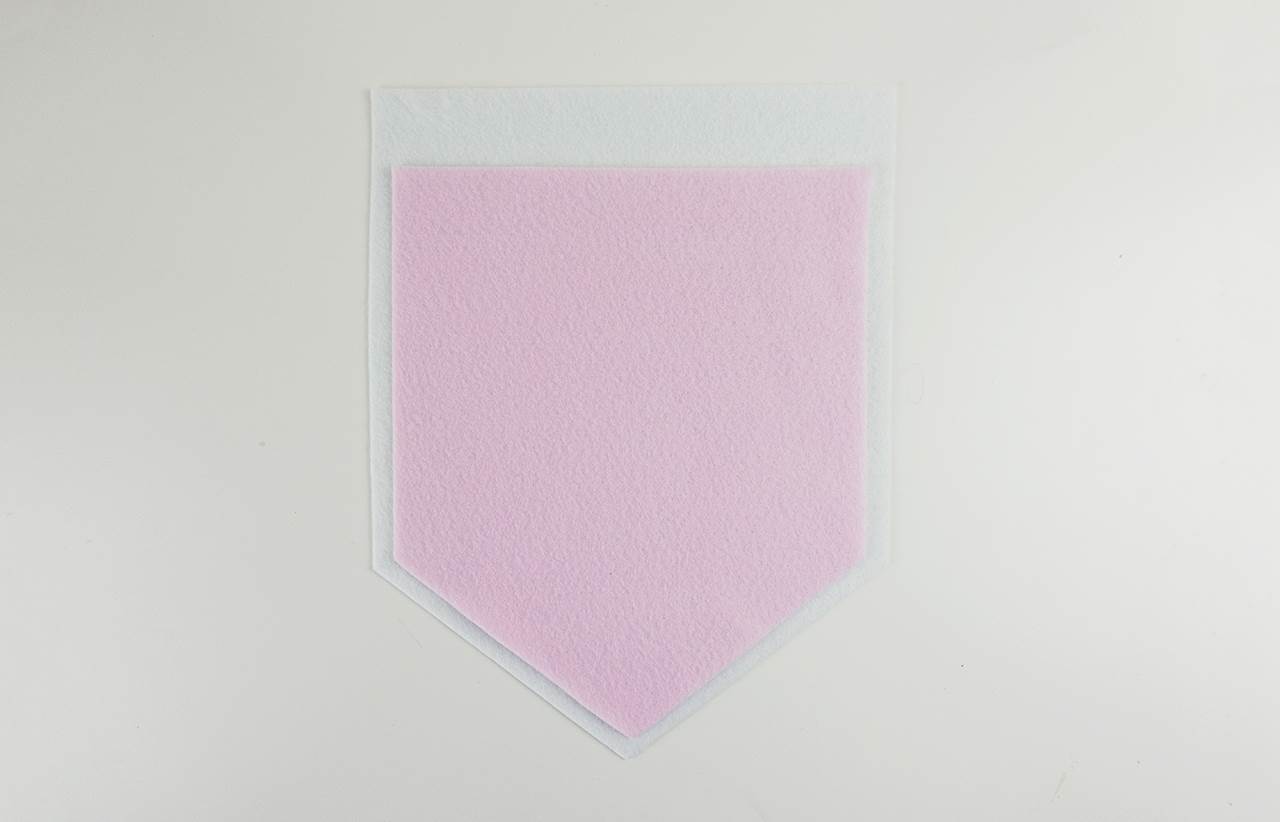
5. Cut along this line, then open your felt out to reveal a pennant shape.
6. Take your second piece of felt and cut it to 21cm x 24cm. Use the same technique as above to create the pennant shape. Note that there is a larger section of the backing felt at the top of the pennant; this is intentional.
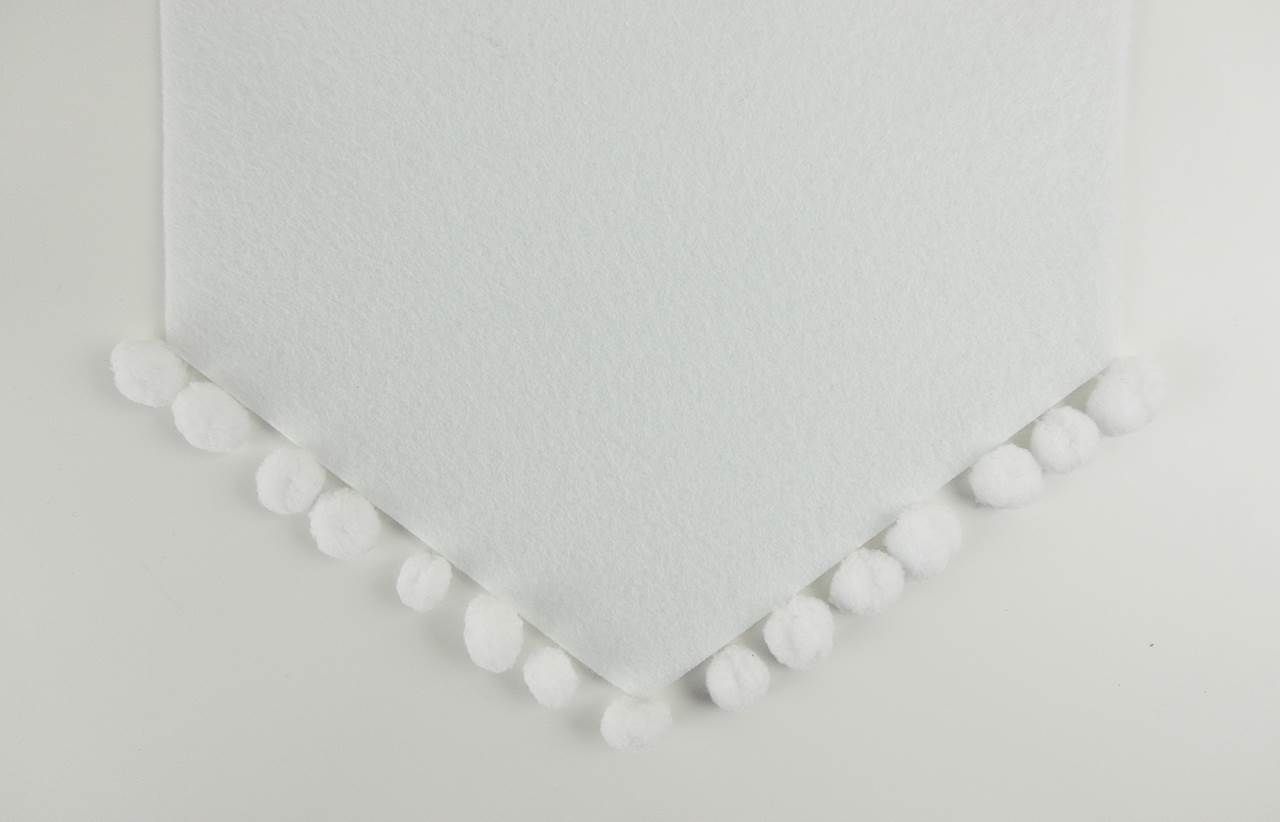
7. If you’re adding trim, attach it at this stage. You can either sew it, or use a hot glue gun, depending on your patience levels, and the tools you have on hand.

8. Cut your dowel to 22cm long. You can do this with scissors, a Stanley knife, or a pair of secateurs.
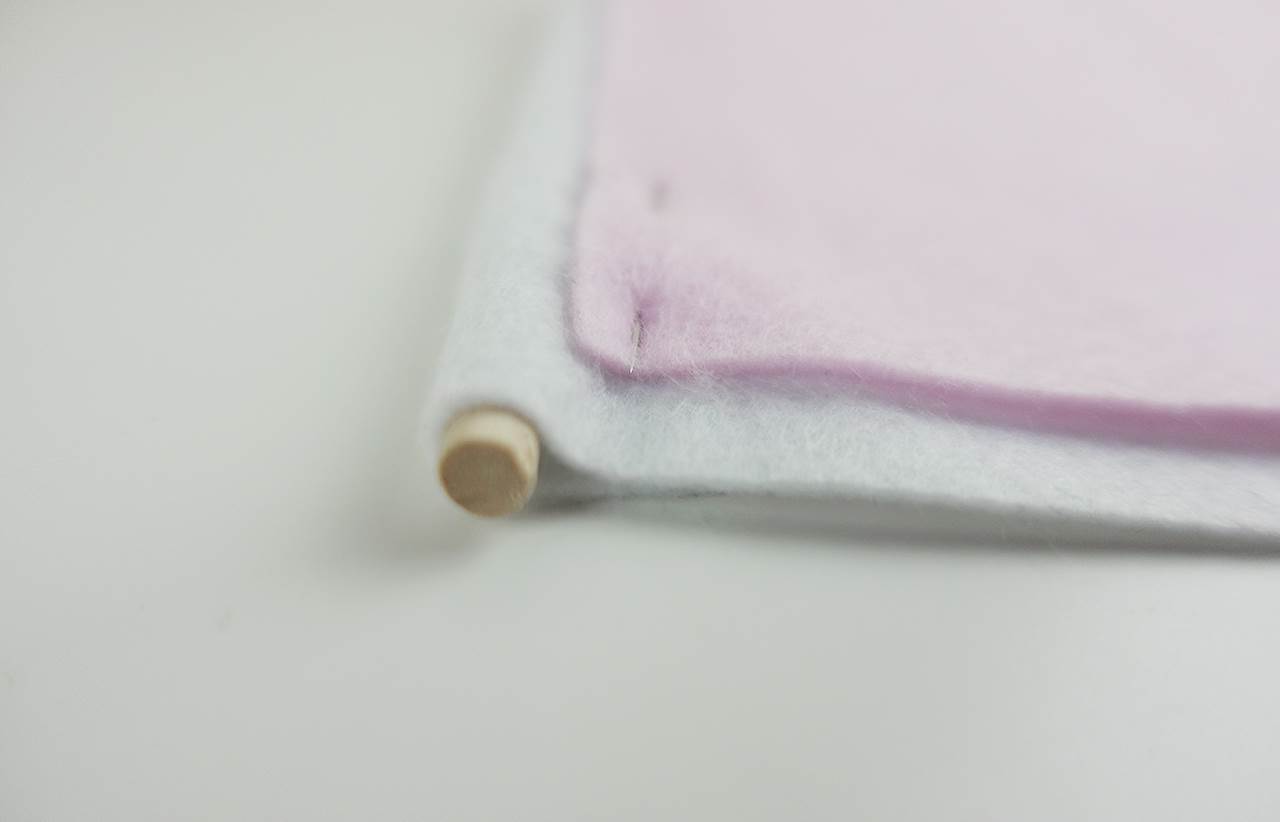
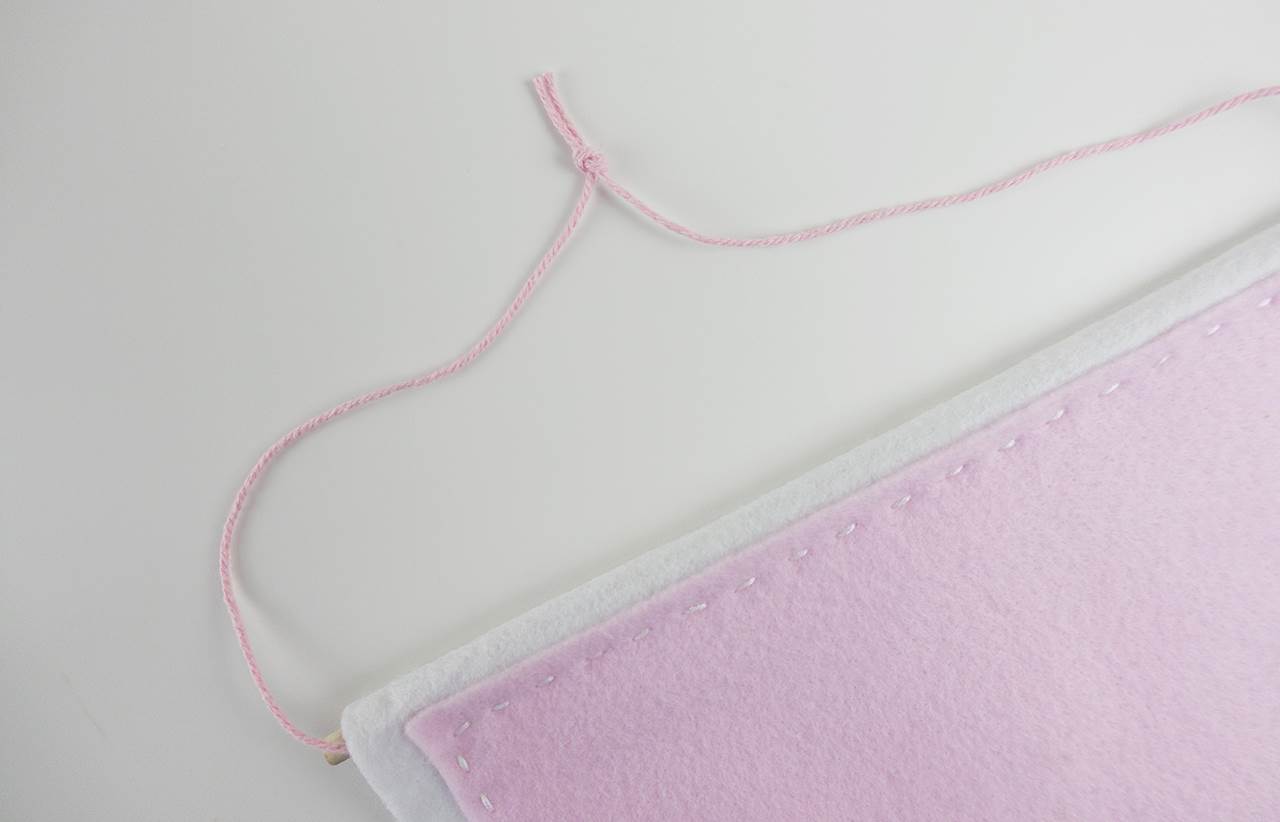
9. Fold your backing felt around your piece of dowel, creating a tube that the dowel will slide into once it is sewn. Lay your second piece of felt on top, and pin in place in such a way that when you sew them together, the stitching will both hold the front piece of felt on, and secure the tube in the back piece of felt.
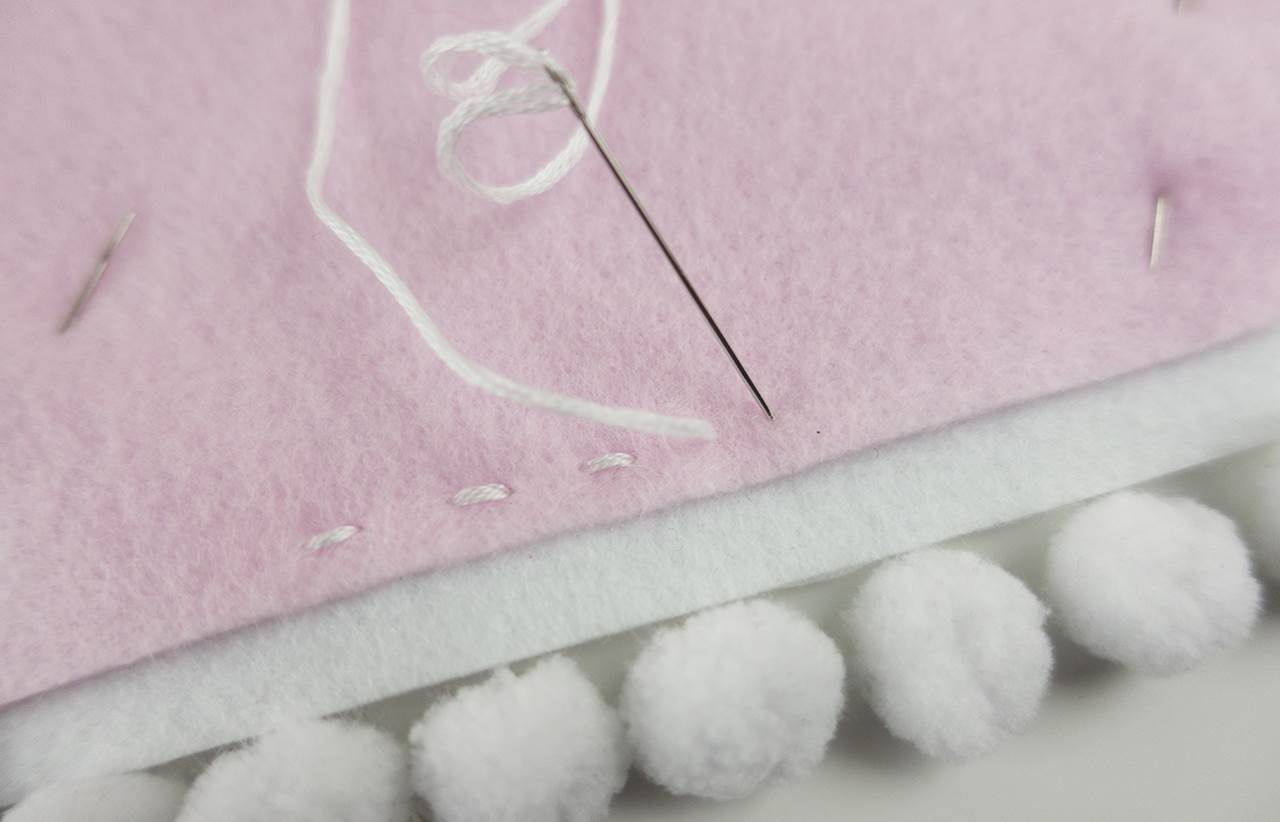
10. Take your embroidery floss and use a running stitch to attach your front piece of felt to your back one. If you’d like the stitching to stand out, use a contrasting colour. If you’d like it to be subtler, use the same colour as the felt.
11. Tape your twine firmly to one end of your dowel. Feed this through the tube you made at the top of the pennant.
12. Remove the tape and pull the twine further through, while leaving the dowel in the tube.
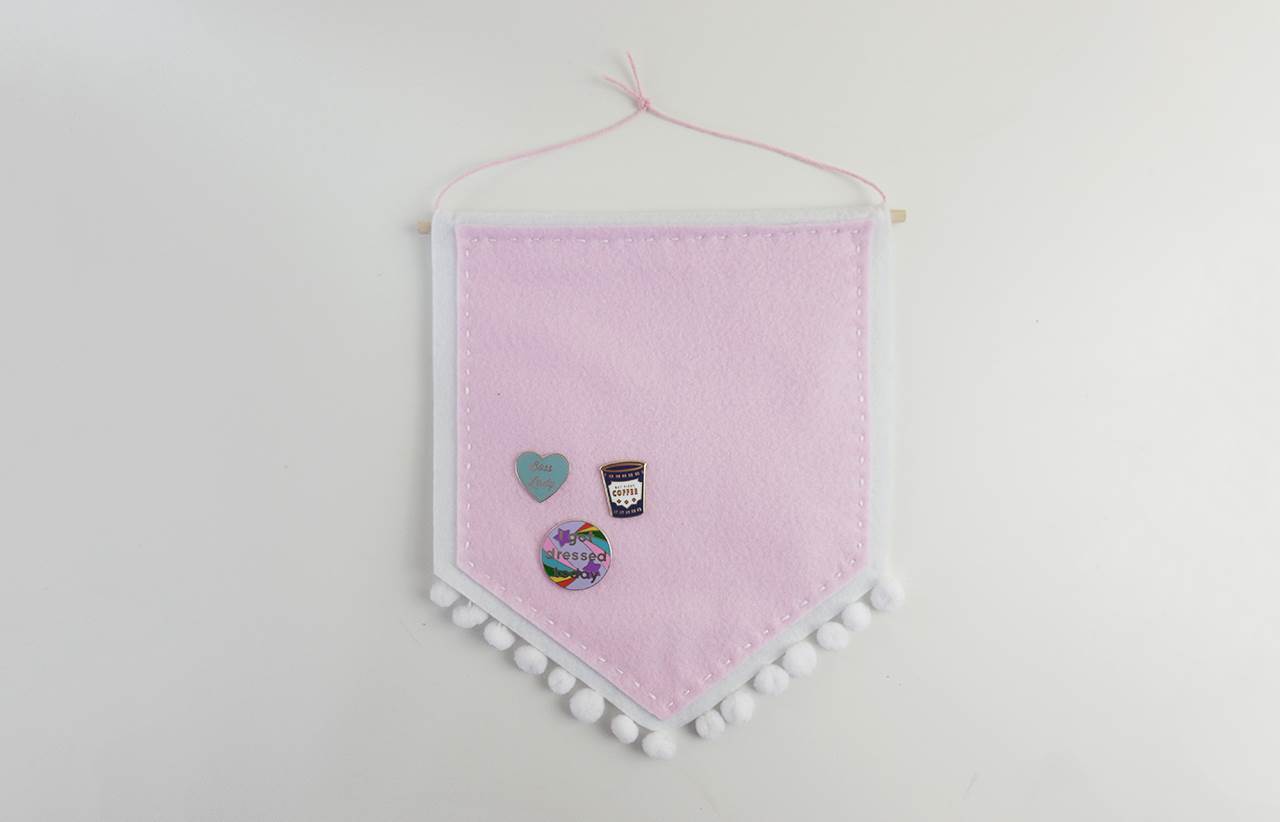
13. Tie the ends of the twine to create a loop.
14. Add your pins and hang the whole thing up on your wall.
For more crafty goodness by Essie, check out her website.