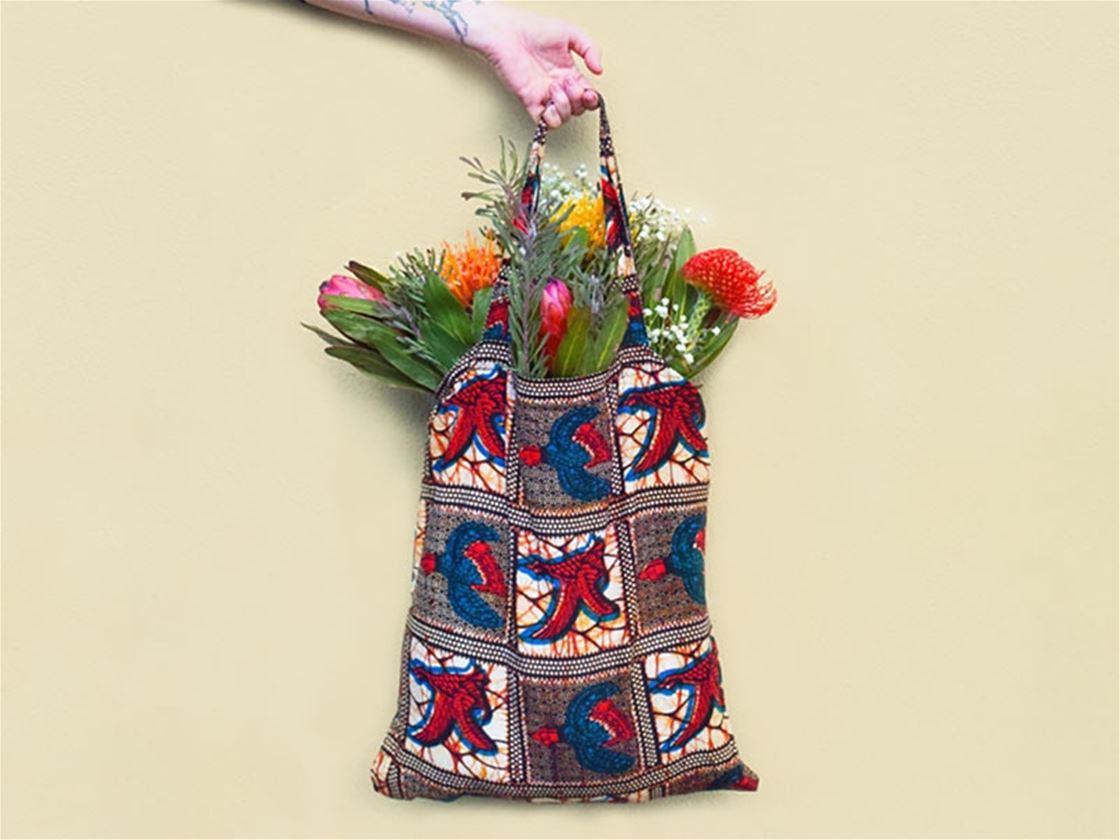
diy kubeba tote bag
Melbourne label Collective Closets show us how to make a tote bag that's perfect for stowing away veggies, library books or a bunch of fresh blooms.
You've seen our awesome collab with Spotlight and Collective Closets in issue 85 and probably read designers Fatuma and Laurinda's tips for getting into sewing. Now here's a project pretty much anyone can do: sew your own tote. The best part of this DIY is that you can choose whatever fabric you like, which means you can put that last metre still sitting on the roll to good use. 
MATERIALS:
-1 metre of your chosen fabric
-1 metre of fusing
-dress maker’s pins
-hot iron
-sewing machine
-thread to match fabric
-sharp fabric scissors
INSTRUCTIONS:
Cutting the fabric
1. For the body of the tote, cut two rectanglular panels from the fabric, 50cm tall and 40cm wide.
2. For the handles, cut two pieces of fabric, each 8cm wide and 58cm long. Repeat with the fusing. The final handle will later be finished to a width of 4cm.
Making the handles
1. Iron the handle fabric and then fold in half lengthways, unprinted sides together. Press and open out, so unprinted side is facing up.
2. Align the fusing piece to center crease. Press the fusing to adhere it to the fabric.
3. Fold the bottom long edge of the handle fabric lengthways so it meets the centre crease. The fusing should now be enclosed underneath that half. Press.
4. Repeat for the top edge of the handle fabric so that the 58cm long raw edges now meet. Press again, then fold in half lengthways again so that the folded long edges are aligned. Pin in place.
5. Topstitch along the top and bottom of the long edge, with a 5mm seam allowance. Repeat with other handle. The short ends of the handles have been left raw as they will be enclosed inside the seam allowances at the top of the bag.

Sewing the tote body
1. Lay down one piece of fabric so that the unprinted side is visible. Fold the top short edge down by 2cm and press. Fold the edge down again by another 2cm and press. Repeat this step for the second piece of fabric.
2. Now to attach the handles. To figure out where to place them, fold each piece of fabric in half, lengthways. Place a pin at the approximate midpoint of each folded edge. You should have four spots pinned.
3. Unfold both bits of fabric and lay flat on table so the unprinted side is visible. Take the ends of the straps and tuck them flat under the pinned spots so they are now in "U" shapes.
4. Topstitch the bottom of the folded edge, securing the handles in place. Fold the handles upwards, away from the body of the bag, and iron in place.
5. Topstich across the top of the folded edge to secure the handles again.
6. Now place the fabric together, printed sides touching, and iron flat. Pin together the two raw edges on the side of the bag with a 1/2cm seam allowance. Pin the bottom of the edge of the bag leaving a 2cm seam allowance. Sew together.
7. Turn the bag right way around and press flat.
This handy-dandy tote bag tutorial was brought to you by Spotlight's sewing and fabrics range. To see more of Fatuma and Laurinda’s delightful wares, head here.

